项目目标
安装最新版本的wordpress。
1) 目前思考的是wordpress的开发语言要清楚。
2)一般类似开源软件用的mysql数据库,他支持最低版本是多少
3)nginx的版本一般不做要求,只要求1.16以上版本
4)目标机器是centos7.9,如果不知道
cat /etc/os_relase
uname -a
这些版本和安装软件关系很大。
进一步的研究
研究,nginx如何支持php运行?
- php和nginx配合,需要使用php-fpm,需要的版本,工作原理
- 如何配置,在虚拟主机配置里面。
location ~ \.php$ {
  root   /usr/share/nginx/html;
  fastcgi_pass   127.0.0.1:9000;
  fastcgi_index  index.php;
  fastcgi_param  SCRIPT_FILENAME           $document_root$fastcgi_script_name;
  include        fastcgi_params;
}
研究,mysql最低版本是多少,一般是5.7,没有特殊要求,不要安装8.0
- 对wordpress来说,要不要安装数据库?
- 安装数据库以后,原始的表,数据从哪儿来?
- 一般来说,大型开源软件 是在线安装数据库和表,数据,特别是PHP写的软件
- 还有些,是自己需要导入数据库表,就用到
mysql < backup.sql
其中,backup.sql是软件提供的。 - 数据库的字符集有没有要求。
- 数据库要不要建用户,root/root,其实生产环境不可能的,一般而言,
要在数据库当中建立对应的用户和数据库,比如我的软件是wordpress
那么,数据库名称也是wordpress,数据库用户名也是wordpress@’%’
     > create user wordpress@'192.168.10.%' identified by '123456';
     create database wordpress charset utf8;
     grant all privileges wordpress.* to wordpress@'%';
     flush privileges;
* 注意有时候这样有些权限不够,可以使用 grant dba to wordpress@'%'具体操作步骤
设置机器名称
hostnamectl set-hostname wordpress
目的是为了区分在操作的机器。
安装nginx,采用yum安装
- 确认yum源是原始的,把其他不相干的去除
[root@wordpress yum.repos.d]# mv zabbix* [root@wordpress yum.repos.d]# mkdir backup [root@wordpress yum.repos.d]# mv zabbix* backup/ [root@wordpress yum.repos.d]# ls backup CentOS-CR.repo CentOS-fasttrack.repo CentOS-Sources.repo CentOS-x86_64-kernel.repo CentOS-Base.repo CentOS-Debuginfo.repo CentOS-Media.repo CentOS-Vault.repo- 安装 nginx
yum -y install epel-release yum -y install nginx - 系统没有安装netstat 命令
yum -y install net-tools - 放行80端口
firewall-cmd --add-port=80/tcp --permanent
firewall-cmd --reload
setenforce 0
sed -i.bak '/LINUX/s/enforcing/disabled/g' /etc/selinux/config
- 安装 nginx
- 安装相关的包
安装清华源yum install -y epel-release yum install -y https://mirrors.tuna.tsinghua.edu.cn/remi/enterprise/remi-release-7.rpm
yum -y install php83-php-common php83-php-mysqlnd php83-php-fpm gd3php php83-php-json php83-php-pdo php83 php83-php-mbstring php83-php-ldap php83-runtime php83-php-cli php83-php-gd php83-php-fpm - 启动php-fpm
php-fpm是php进程的管理器,他侦听在9000端口,nginx把自己不理解的php文件的请求发送给9000端口,然后php-fpm调用php软件解析这个php文件,把生产的结果返回给nginx,nginx在返回到客户。systemctl start php83-php-fpm systemctl status php83-php-fpm 或者 netstat -antp |grep 9000
配置php的虚拟主机,并且在虚拟主机当中转发请求
- 删除原来nginx.conf虚拟主机的配置
- 在conf.d中增加192.168.10.200.conf
添加如下内容
 server {
    listen       80;
    server_name  _;

    #charset koi8-r;
    #access_log  /var/log/nginx/host.access.log  main;

    root   /usr/share/nginx/html;
    index  index.html index.htm index.php;

    #error_page  404              /404.html;

    # redirect server error pages to the static page /50x.html
    #
    error_page   500 502 503 504  /50x.html;
    location = /50x.html {
        root   /usr/share/nginx/html;
    }

    # proxy the PHP scripts to Apache listening on 127.0.0.1:80
    #
    #location ~ \.php$ {
    #    proxy_pass   http://127.0.0.1;
    #}

    # pass the PHP scripts to FastCGI server listening on 127.0.0.1:9000
    #
   location ~ \.php$ {
       root   /usr/share/nginx/html;
       fastcgi_pass   127.0.0.1:9000;
       fastcgi_index  index.php;
       fastcgi_param  SCRIPT_FILENAME  $document_root$fastcgi_script_name;
       include        fastcgi_params;
   }

    # deny access to .htaccess files, if Apache's document root
    # concurs with nginx's one
    #
    #location ~ /\.ht {
    #    deny  all;
    #}
}- 重启启动nginx
nginx -s reload
万一不能失效pkill -9 nginx && nginx
在/usr/share/nginx/html增加index.php
cat >index.php <<EOF
<?php
phpinfo();
?>
EOF
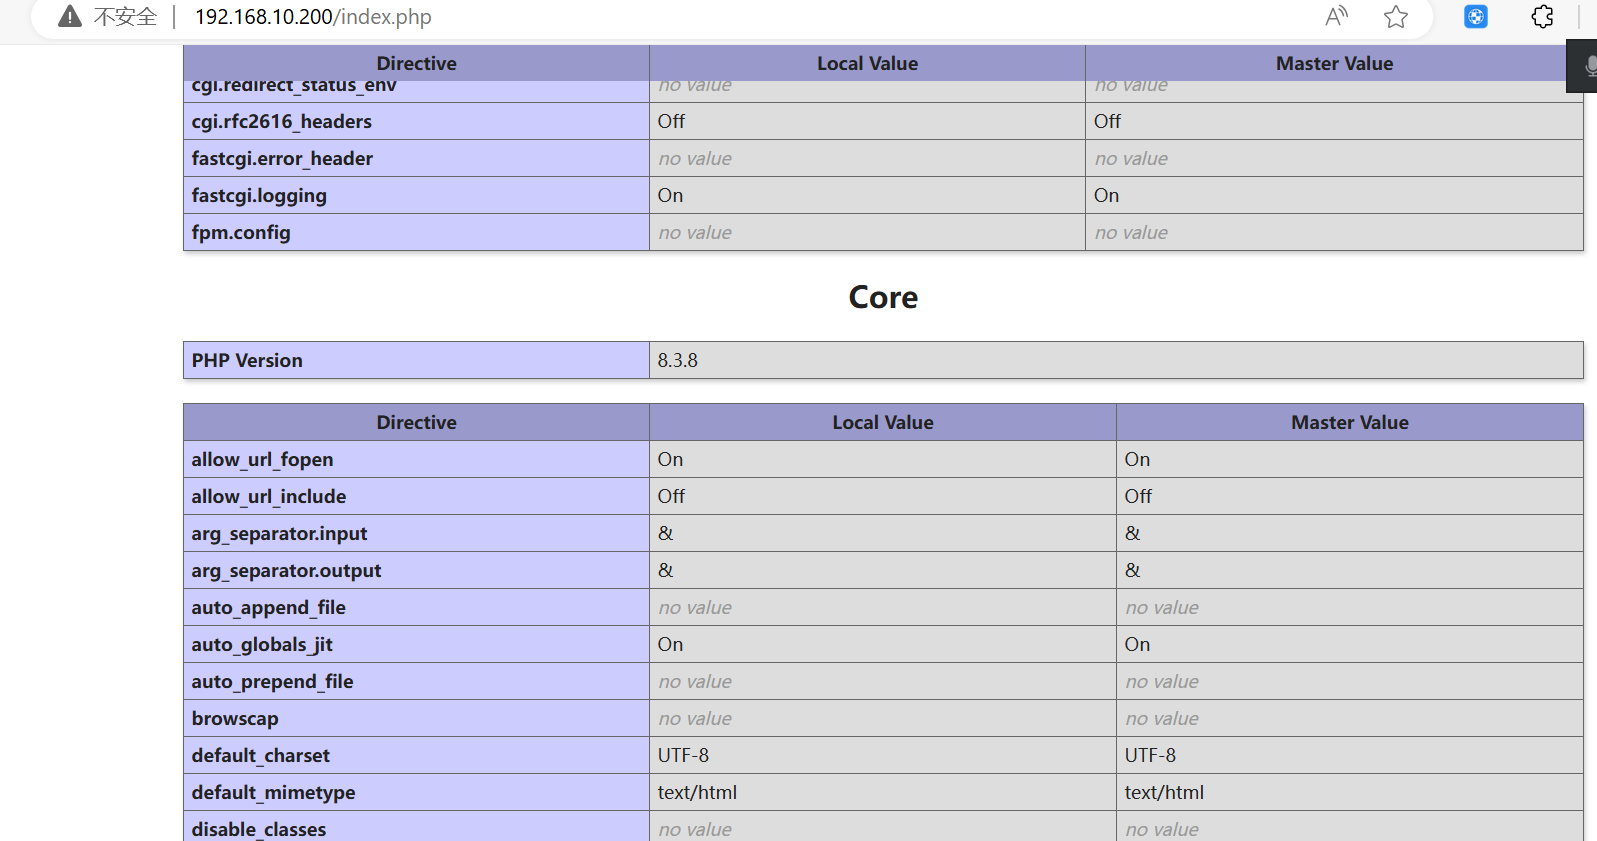
在浏览器访问 http://192.168.10.200/index.php
结果如下
完成
安装mysql 5.7
安装yum源
yum -y install https://dev.mysql.com/get/mysql80-community-release-el7-10.noarch.rpm 默认情况下的是8.0版本,需要改成5.7
修改/etc/yum.repos.d/mysql-communtiy.repo
禁用8.0,启用5.7
# Enable to use MySQL 5.7
[mysql57-community]
name=MySQL 5.7 Community Server
baseurl=http://repo.mysql.com/yum/mysql-5.7-community/el/7/$basearch
enabled=1  # 修改从0到1
gpgcheck=1
gpgkey=file:///etc/pki/rpm-gpg/RPM-GPG-KEY-mysql-2023
       file:///etc/pki/rpm-gpg/RPM-GPG-KEY-mysql-2022
       file:///etc/pki/rpm-gpg/RPM-GPG-KEY-mysql

[mysql80-community]
name=MySQL 8.0 Community Server
baseurl=http://repo.mysql.com/yum/mysql-8.0-community/el/7/$basearch
enabled=0 #  修改从1到0
gpgcheck=1
gpgkey=file:///etc/pki/rpm-gpg/RPM-GPG-KEY-mysql-2023
       file:///etc/pki/rpm-gpg/RPM-GPG-KEY-mysql-2022
       file:///etc/pki/rpm-gpg/RPM-GPG-KEY-mysql
然后执行安装yum -y install mysql-community-server
注意,安装以后的密码在log日志里面。
cat /var/log/mysqld.log |grep password
找到的密码是 ‘k7G9,g#c1L61’
错误流程及修改流程如下
mysql> create database wordpress charset utf8;
ERROR 1820 (HY000): You must reset your password using ALTER USER statement before executing this statement.
mysql> alter user root identified by '1qaz!QAZ';
ERROR 1820 (HY000): You must reset your password using ALTER USER statement before executing this statement.
# 注意这里
mysql> alter user root@localhost identified by '1qaz!QAZ';
Query OK, 0 rows affected (0.01 sec)

mysql> flush privileges;
Query OK, 0 rows affected (0.01 sec)

mysql> exit
Bye
[root@wordpress conf.d]# mysql -uroot
ERROR 1045 (28000): Access denied for user 'root'@'localhost' (using password: NO)
[root@wordpress conf.d]# mysql -uroot -p
Enter password:
Welcome to the MySQL monitor.  Commands end with ; or \g.
Your MySQL connection id is 5
Server version: 5.7.44 MySQL Community Server (GPL)

Copyright (c) 2000, 2023, Oracle and/or its affiliates.

Oracle is a registered trademark of Oracle Corporation and/or its
affiliates. Other names may be trademarks of their respective
owners.

Type 'help;' or '\h' for help. Type '\c' to clear the current input statement.

mysql> create database wordpress charset utf8;
Query OK, 1 row affected (0.01 sec)

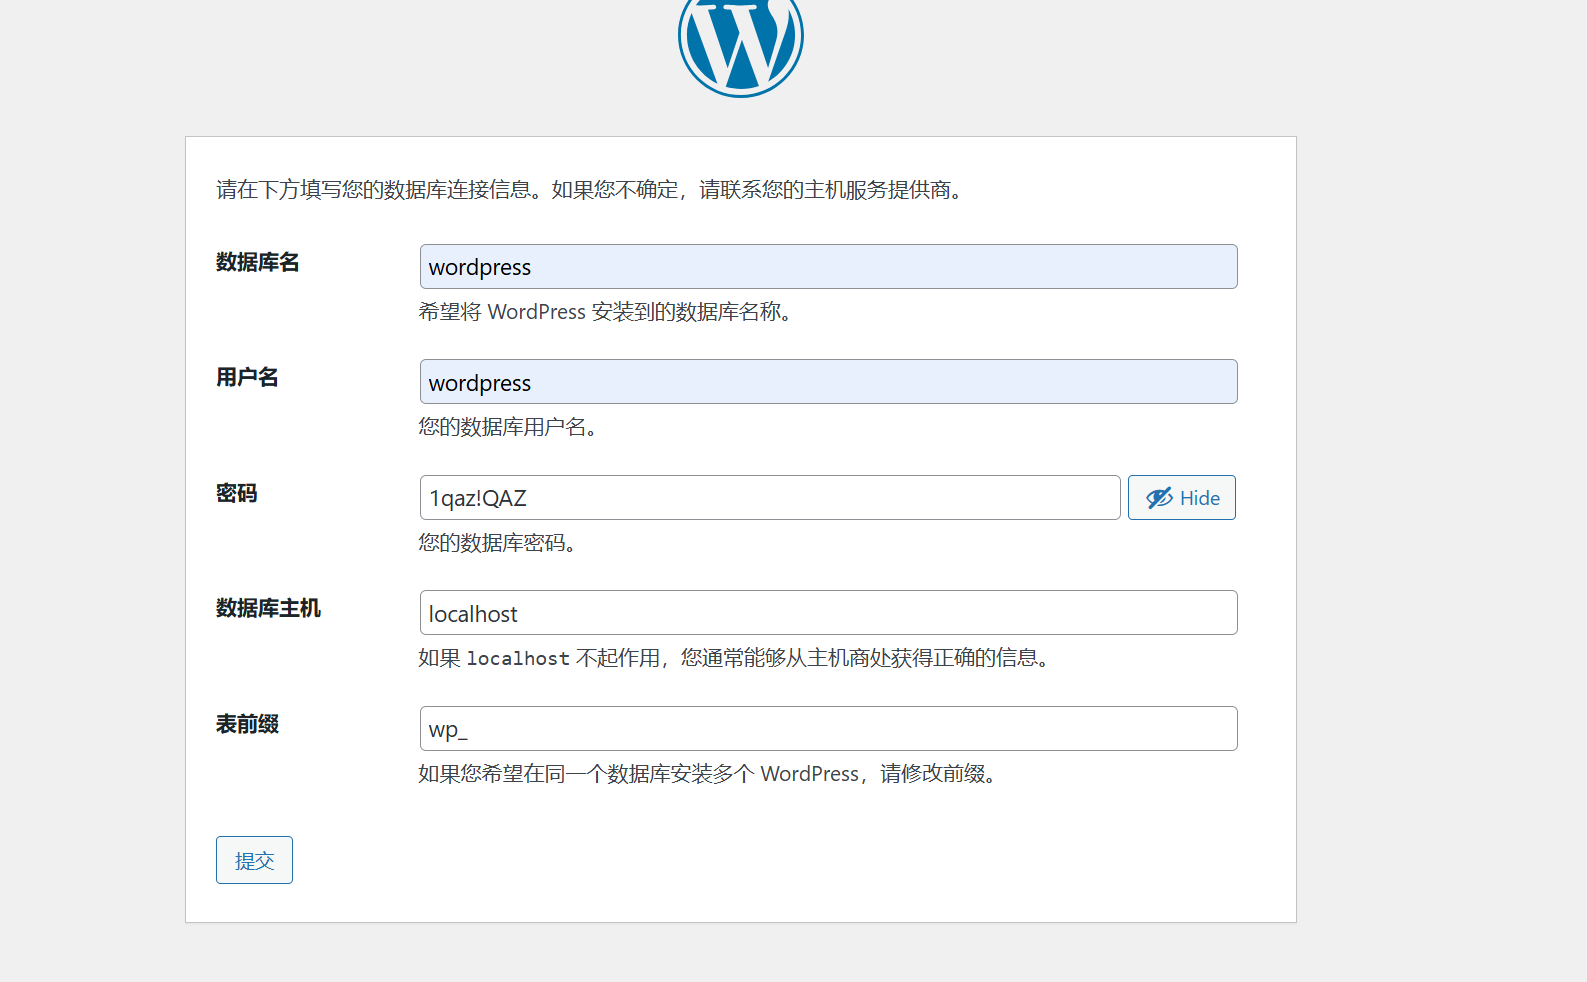
mysql> create user wordpress@localhost identified by '1qaz!QAZ';
Query OK, 0 rows affected (0.01 sec)

mysql> flush privileges;
Query OK, 0 rows affected (0.00 sec)

mysql> grant all privileges on wordpress.* to wordpress@localhost  with grant option;
Query OK, 0 rows affected (0.00 sec)

mysql> exit
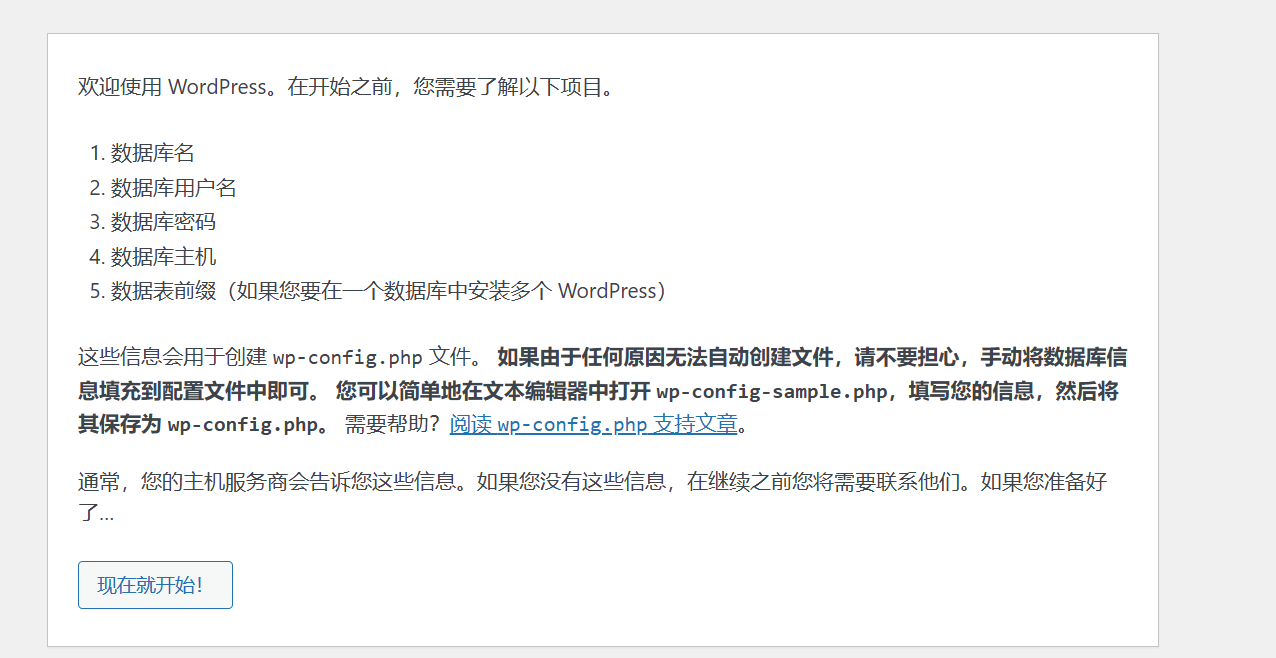
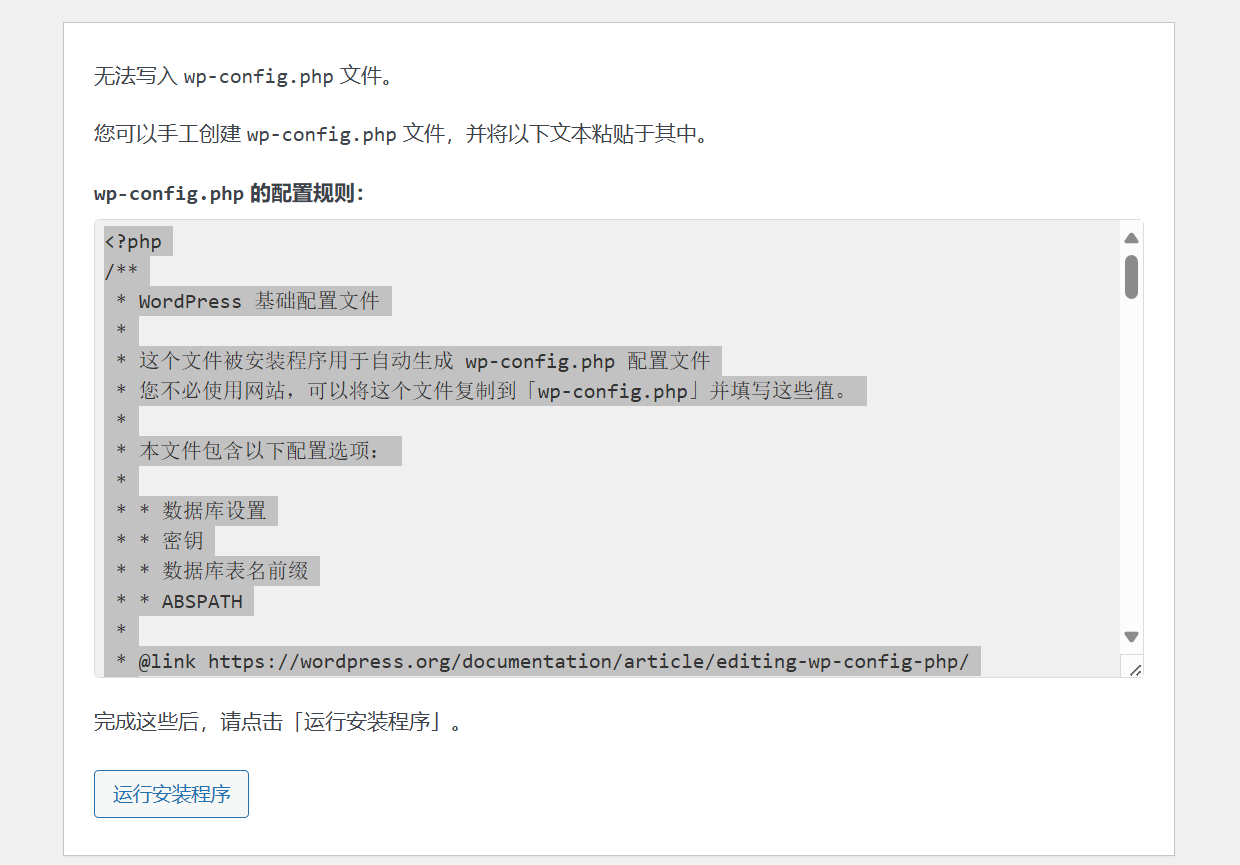
登陆到192.168.10.200/wordpress 开始安装,按照提示
安装结束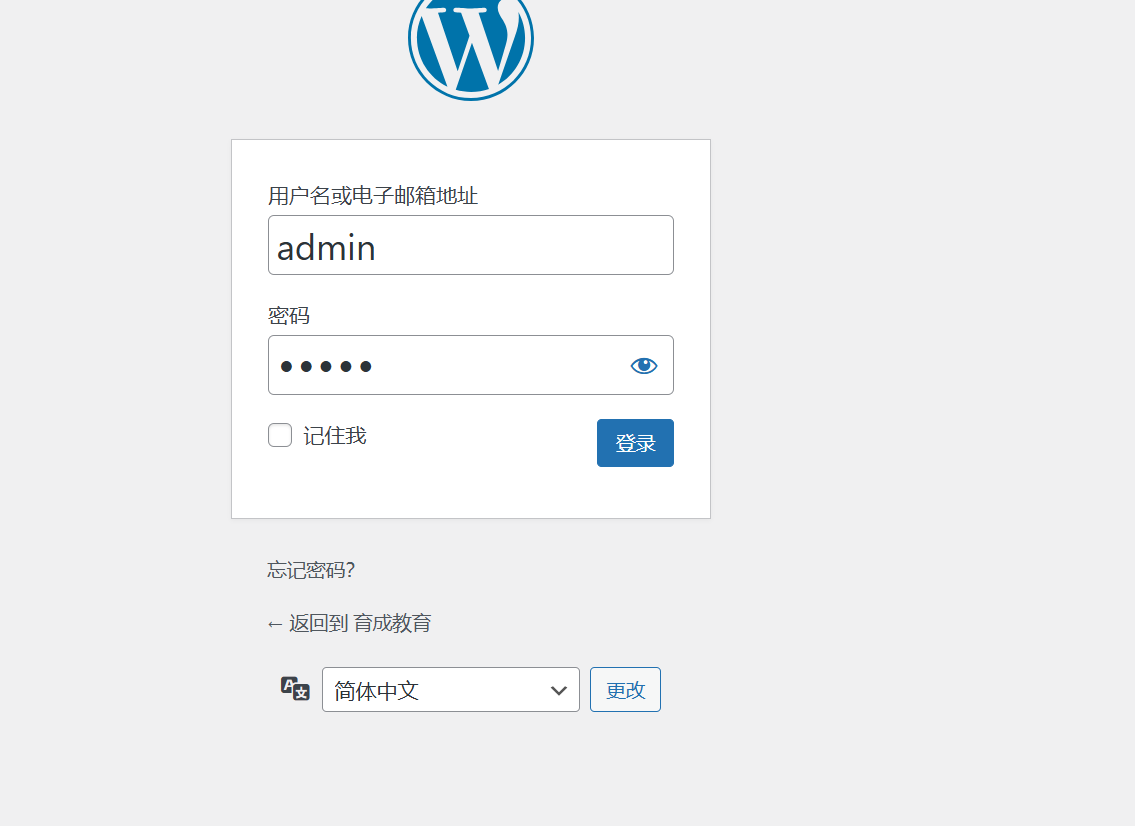
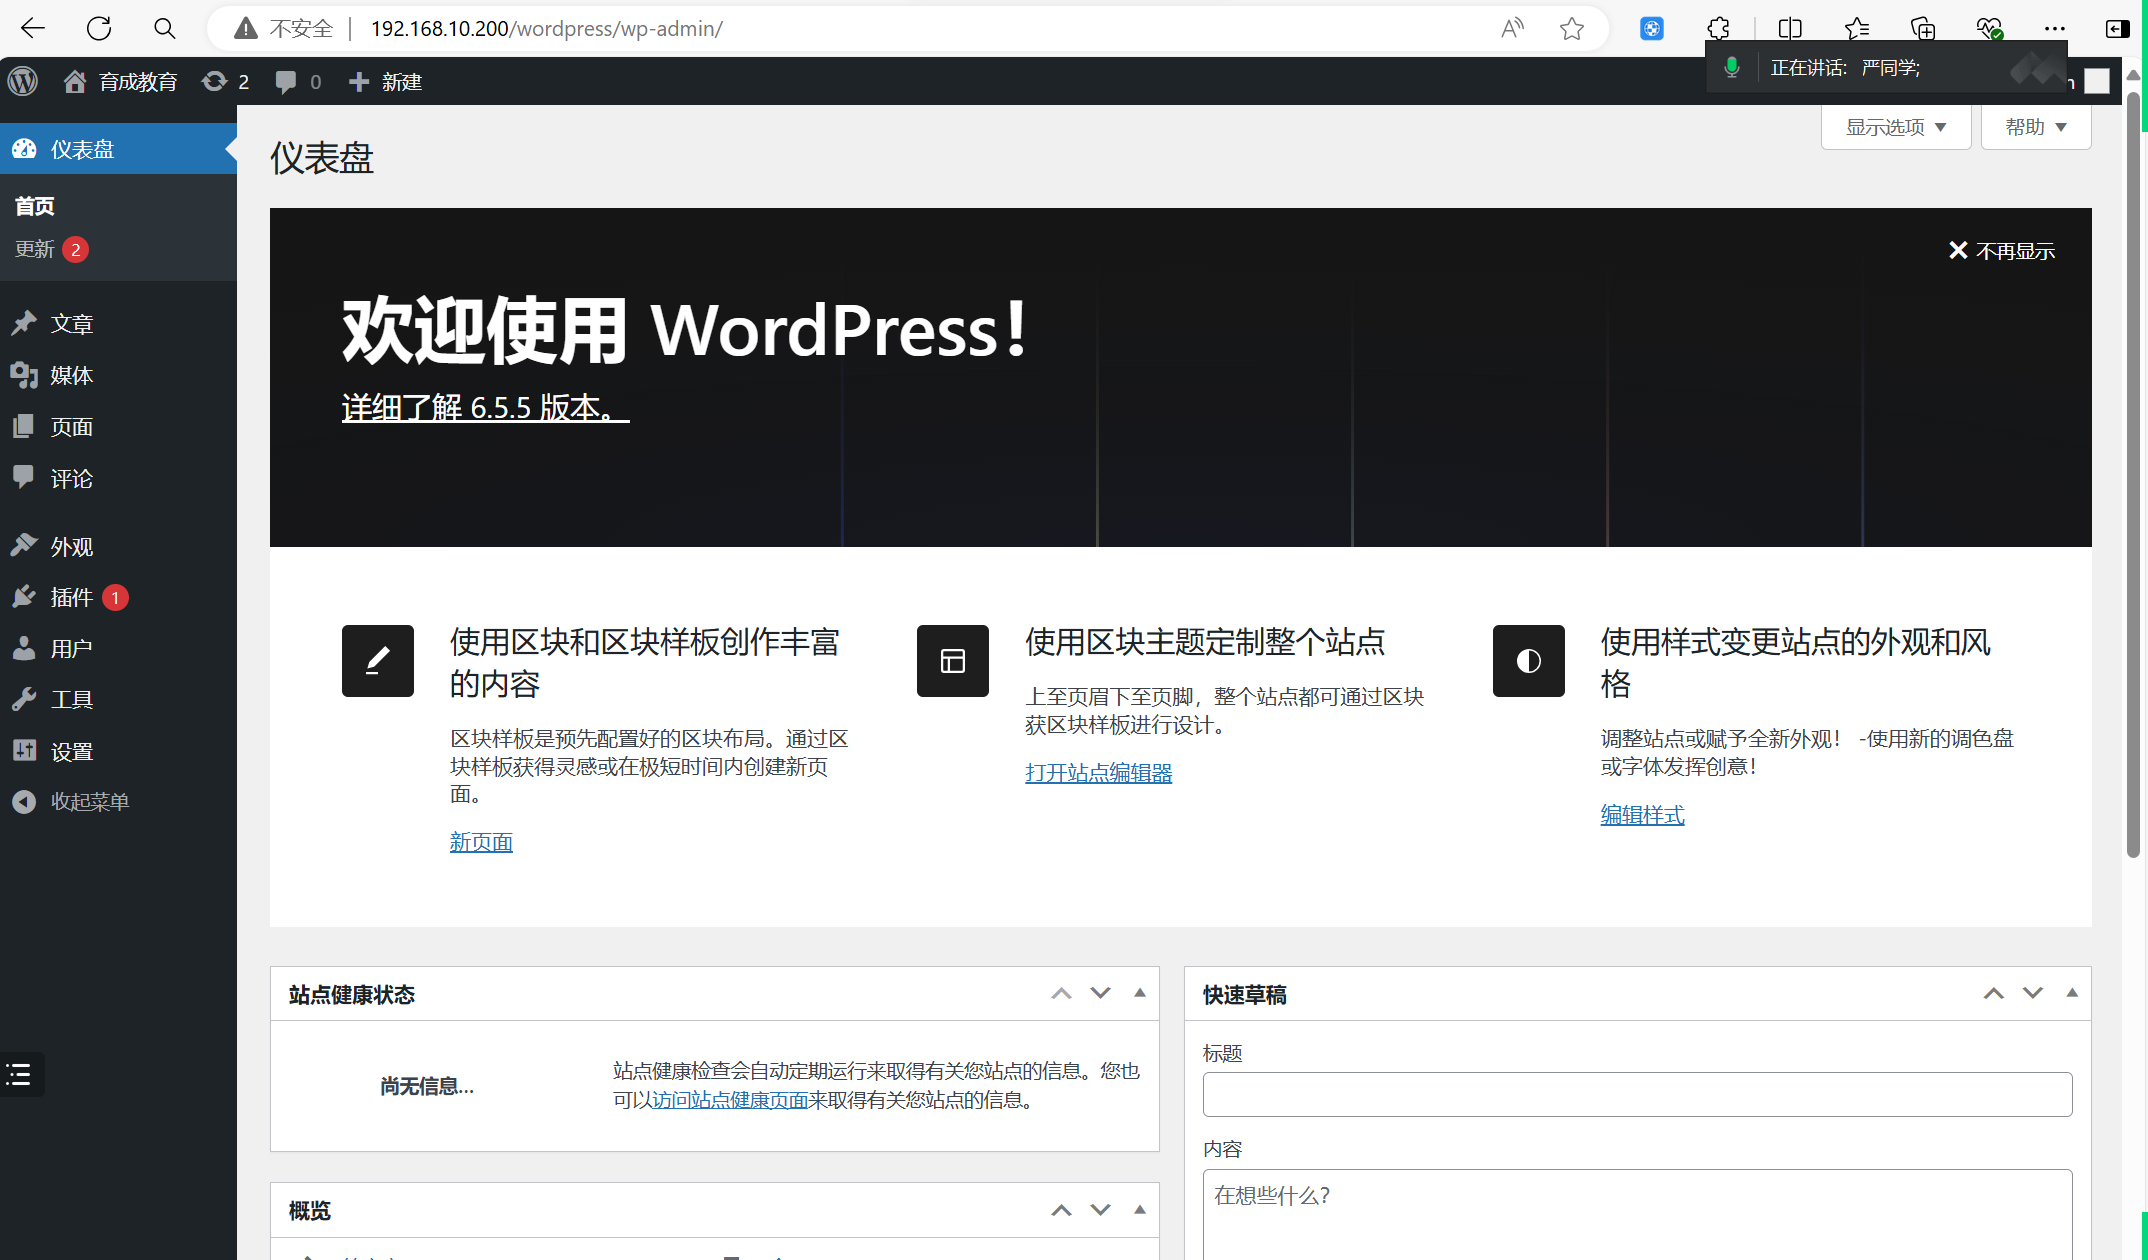
安装完毕
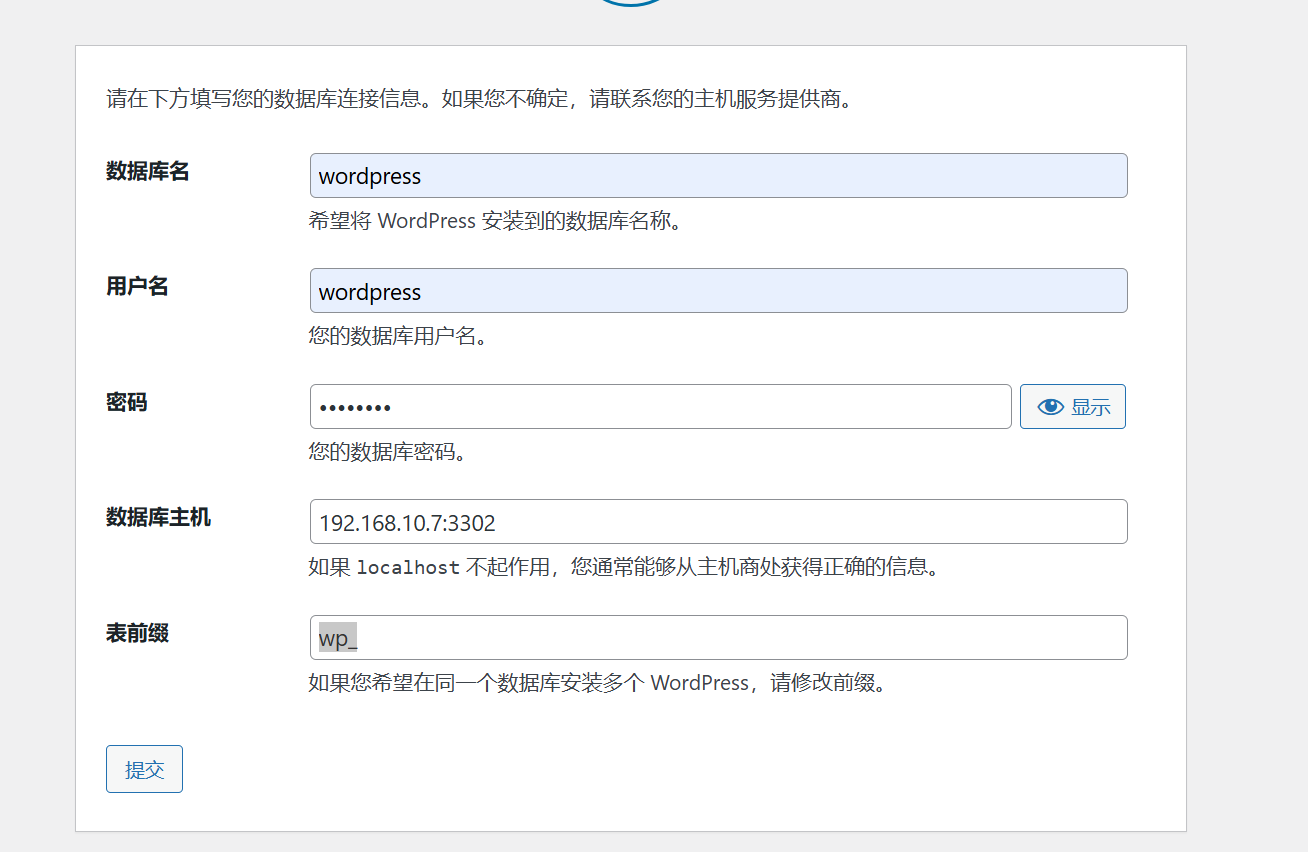
如果安装在2台机器上。
[root@wordpress wordpress]# mysql -uroot -proot -h 192.168.10.7 -P 3302

mysql> drop database wordpress;
Query OK, 12 rows affected (2.06 sec)

mysql> create database wordpress charset utf8;
Query OK, 1 row affected (0.01 sec)

mysql> create user wordpress@'192.168.10.%' identified by '1qaz!QAZ';
Query OK, 0 rows affected (0.05 sec)

mysql> grant all privileges on wordpress.* to wordpress@'192.168.10.%' ;
Query OK, 0 rows affected (0.04 sec)

mysql> flush privileges;
Query OK, 0 rows affected (0.04 sec)
修改好连接数据库的配置就可以了。
作者:严锋 创建时间:2024-07-16 09:19
最后编辑:严锋 更新时间:2025-12-25 10:39
最后编辑:严锋 更新时间:2025-12-25 10:39
